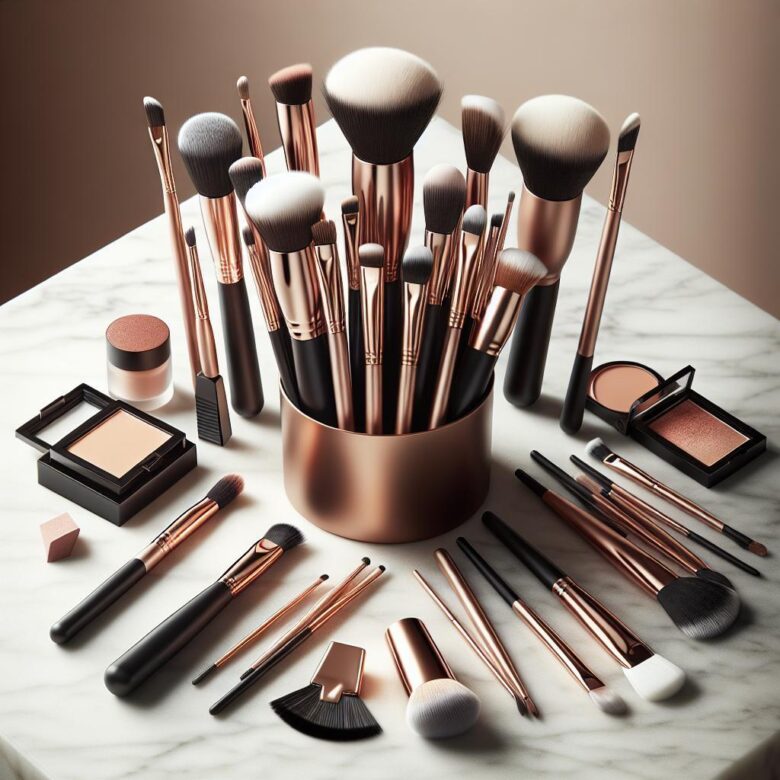
A beginner brush kit should reflect the makeup you actually apply—not the number of tools included in a set. Someone who wears skin tint and blush needs a different kit from someone learning layered eyeshadow, and foundation does not require a brush if you prefer fingers or a sponge.
A practical starting point: choose one tool for each step in your current routine. For a basic full face, that may mean a base brush, powder brush, cheek brush, eyeshadow blending brush and small detail brush. Add specialized shapes only when an existing tool cannot give you the placement or finish you want.
How this guide was evaluated
This is a source-based selection guide, not a hands-on test or ranking of specific brush sets. The framework compares observable features—head shape, size, bristle density, fiber type and intended formula—along with hygiene guidance from the American Academy of Dermatology (AAD).
Brush names are not standardized across brands, and specifications cannot establish softness, shedding or durability on their own. When shopping, examine the actual shape and dimensions rather than relying on labels such as “professional,” “precision” or “flawless.”
Start with your routine, not a predetermined brush count
Write down the products you use in application order. Then assign a tool only where it would make the step easier. This prevents a large set from filling your storage with duplicate eye brushes, fan brushes or contour tools you may never use.
| Routine | Reasonable starting tools | What may be unnecessary |
|---|---|---|
| Skin tint, blush and optional powder | A preferred base tool, medium cheek brush and powder brush if you set your makeup | Multiple eye brushes, contour brushes and a separate highlighter brush |
| Basic full face | Base brush, powder brush, cheek brush, eyeshadow blending brush and small detail brush | Several near-identical blending brushes or separate tools for every cheek product |
| Eye-focused makeup | Fluffy blending brush, flat shader and small angled or pencil-style detail brush | A large face-brush collection if complexion products are rarely worn |
| Mineral powder base | One suitably dense face brush, plus cheek and eye tools as needed | A liquid-foundation paddle brush unless it has another role in the routine |
Your foundation formula also affects the choice. The differences are explained further in Glow Theory’s guide to mineral makeup versus liquid foundation.
Five versatile brush categories
These categories cover many common steps, but none is mandatory. Focus on function because manufacturers may use different names for similar shapes.
1. A base brush that matches your preferred finish
A rounded, relatively dense buffing brush can spread liquid or cream complexion products and build coverage in thin layers. Use gentle tapping or short blending motions; aggressive circular buffing may disturb skincare or emphasize dry areas.
A flat paddle brush offers more exact placement and can paint on a thin layer, but its edges may leave visible lines that need additional blending. A sponge or clean fingers may be more convenient if you prefer a sheer base, so do not buy a foundation brush solely because a set treats it as essential. Glow Theory’s makeup sponge comparison explains the practical differences between sponge options.
2. A powder brush sized for where you set
A large, flexible brush disperses powder over broad areas. It may be too imprecise if you set only beneath the eyes or around the nose. A medium or small tapered brush offers more control but takes longer for all-over application.
Choose according to placement rather than assuming larger is better. If you use no setting powder, this category can be skipped.
3. A medium cheek brush
A softly tapered or angled cheek brush can often handle powder blush, bronzer and a diffused contour. A smaller head keeps color within a narrower area; a larger head produces broader, less exact placement.
One cheek brush may be enough if those products are applied at different times or the brush can be cleaned between them. A second becomes useful when you regularly use several strongly contrasting shades in the same routine.
4. A fluffy eyeshadow blending brush
A small or medium dome-shaped brush distributes crease color and softens edges. The head should fit your available lid and crease space: an oversized brush may spread color farther than intended, while a very small one can make broad blending slower.
For a simple one-shadow look, one blending brush may suffice. More detailed looks are easier when one brush places color and a cleaner brush softens the border.
5. A small flat or angled detail brush
This category can fill brows, soften liner, place eyeshadow near the lashes or apply concealer to a small area. Shape determines the trade-off: a thin angled edge creates directional lines, while a small flat head presses product onto a compact area.
A multipurpose detail brush should be cleaned before switching between the eye area, brows and blemishes. Convenience should not override hygiene.
How shape and density change application
| Design | Commonly suits | Trade-off to consider |
|---|---|---|
| Flat paddle | Precise liquid, cream or concealer placement | May leave lines unless the edges are tapped or blended |
| Dense rounded or flat top | Building liquid or cream coverage | Can deposit too much product when loaded heavily or pressed firmly |
| Large and fluffy | Diffuse powder, bronzer or finishing products | Offers limited precision on small areas |
| Tapered | Controlled powder, blush, highlighter or crease placement | The point does not help if the overall head is too large for the area |
| Angled | Brows, liner and directional cheek placement | A stiff or heavily loaded edge can create a harsh line |
| Flat shader | Pressing shadow onto the eyelid | Usually less effective than a fluffy brush for diffusing borders |
| Duo-fiber or lightly packed | Sheer, gradual layers | May not build complexion coverage as quickly as a denser head |
Low, medium and high density
- Low density: flexible bristles tend to disperse product in lighter layers. This can help with gradual blush, bronzer and finishing powder application.
- Medium density: offers a balance between placement and diffusion and can be easier to control when learning how much product to pick up.
- High density: tightly packed bristles can build liquid or cream coverage efficiently, but may also create a heavy layer when overloaded.
Density is not a quality grade. A dense brush is not automatically superior to a fluffy one; each is designed for a different type of placement and finish.
Synthetic versus natural bristles
Synthetic brushes are a straightforward starting point because suitable designs are available for liquid, cream and powder makeup. Performance still depends on the shape, density and construction, so the word “synthetic” alone does not guarantee a soft or durable brush.
Natural animal-hair brushes have traditionally been associated with some powder applications, but they are not required for an effective kit. They may also conflict with vegan or animal-free purchasing preferences. If this matters to you, verify the exact fiber composition instead of assuming that a general cruelty-free statement means the bristles are animal-free.
Whichever fiber you choose, check the manufacturer’s care instructions. Heat, soaking or an incompatible cleanser may affect different brush constructions in different ways.
Set or individual brushes?
A small set may suit you when:
- Nearly every included shape corresponds to a step in your routine.
- The set provides genuinely different tools rather than minor variations of one brush.
- You are starting without comparable brushes at home.
- The fiber type and head sizes are clearly disclosed.
Individual brushes may suit you when:
- You already own some essentials.
- A set contains several shapes you will not use.
- You need a particular head size for smaller eyes or more precise cheek placement.
- You want to replace one heavily used brush without repurchasing a collection.
Do not judge value by the number of pieces alone. A five-piece set that matches five regular steps can be more useful than a larger collection dominated by duplicates.
What to verify before buying
- Exact contents: read the itemized list rather than judging from a group photograph, which can make similar brushes difficult to distinguish.
- Head dimensions: measurements are especially helpful when shopping online. A popular face or eye brush may still be too large for your preferred placement.
- Fiber disclosure: verify whether the bristles are synthetic or animal hair and whether that matches your purchasing preferences.
- Ferrule construction: in person, check whether the metal section rotates, separates from the handle or has an obvious gap.
- Bristle comfort: if store policy and tester hygiene allow, feel a clean display brush on the back of your hand—not your face. The tips should not feel sharply scratchy.
- Handle control: very long, thick or heavy handles may be awkward when working close to a mirror.
- Care instructions: confirm that the required cleaning method is realistic for you.
- Return restrictions: cosmetic tools may have hygiene-related return limitations, particularly after opening or use.
- Separate availability: check whether a favorite brush can be replaced without buying the whole set again.
User reviews may help identify repeated reports of shedding, roughness or loose ferrules, but individual reviews do not prove how every unit will perform. Give more weight to recurring, specific descriptions than to unsupported praise.
Technique can solve problems that a new brush cannot
- Foundation looks streaky: use less product, work in smaller sections and finish with light tapping rather than buying another brush immediately.
- Blush is too strong: remove excess from the brush before it reaches the face and build in thin layers.
- Eyeshadow becomes muddy: use one brush to place deeper color and a cleaner brush to soften only the edge.
- Powder looks heavy: use a more flexible brush or restrict powder to areas that crease or become shiny.
- Product catches on dry or textured areas: reduce pressure and press or lightly sweep instead of repeatedly buffing the same spot.
Changing pressure, product quantity or placement is often more useful than collecting several versions of the same shape.
How to wash and dry brushes
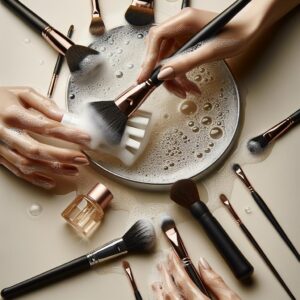
The American Academy of Dermatology recommends washing makeup brushes every 7 to 10 days. A personal schedule may need to be more frequent when brushes are used repeatedly with wet products or must be cleaned between incompatible colors and formulas.
- Rinse the bristle tips under lukewarm running water.
- Keep the handle and the base of the brush head out of the water where possible.
- Use a small amount of gentle cleanser or a cleaner intended for makeup brushes.
- Massage the bristles without pulling or sharply twisting them.
- Rinse until visible cleanser and makeup residue are removed.
- Press out excess water gently with a clean towel.
- Reshape the head with your fingers.
- Lay the brush flat to dry, positioning the bristles where air can circulate.
- Wait until the brush is fully dry before using or storing it in an enclosed container.
Avoid soaking the ferrule, where the bristles connect to the handle. Repeated water exposure in this area can weaken the construction. For a more detailed routine, see how to clean and sanitize makeup brushes.
Do not share personal brushes or applicators without appropriate hygiene controls. If you have an active eye problem, significant irritation or persistent acne, stop using tools that aggravate the area and seek guidance from an appropriate healthcare professional. The AAD also discusses makeup practices for acne-prone skin.
Replace brushes according to condition, not an arbitrary date
There is no single replacement schedule that applies to every brush. Consider replacing a tool when:
- The ferrule rotates, separates or no longer feels secure.
- Shedding persists and repeatedly leaves fibers on the face.
- The bristles remain bent, splayed or uneven after washing and drying.
- The tips have become uncomfortably rough.
- Visible residue or an unusual odor remains after thorough cleaning and drying.
- The damaged shape prevents accurate, predictable application.
Frequently asked questions
How many brushes does a beginner need?
There is no universal number. A complexion-only routine may require two or three brushes, while a basic full face may use about five distinct shapes. Count your actual makeup steps and avoid buying a tool for products or techniques you do not use.
Can one brush be used with cream and powder?
Some synthetic brushes can work with both, but avoid taking a brush coated in wet cream directly into a powder pan. The residue can transfer into the powder. Clean the brush or use a different one when switching formulas.
Do blush and bronzer require separate brushes?
Not necessarily. A medium cheek brush can apply both if its size suits your placement. Separate brushes become more convenient when you apply both products in one sitting or use colors that would visibly contaminate each other.
Does a higher price prove better quality?
No. Price alone cannot establish softness, construction or durability. Evaluate the head size, bristle feel, ferrule stability, fiber disclosure and whether the shape serves a real purpose in your routine.
A practical final checklist
- List the makeup products you currently wear.
- Choose one brush only for steps where a brush is useful.
- Match head size to the area where the product will be placed.
- Use lower density for diffusion and higher density when controlled coverage is the goal.
- Verify fiber composition, care instructions and return restrictions.
- Start with distinct shapes instead of duplicates.
- Wash brushes regularly and replace them when condition or hygiene can no longer be maintained.
A beginner kit does not need to anticipate every makeup technique. Start with the smallest collection that completes your present routine, then add a brush only when you can identify the specific problem it needs to solve.

Glow Theory publishes research-based makeup and beauty guidance. Product comparisons distinguish documented specifications and source-based research from hands-on testing. The publication does not present manufacturer claims as independent test results and does not claim professional or medical credentials that have not been verified.