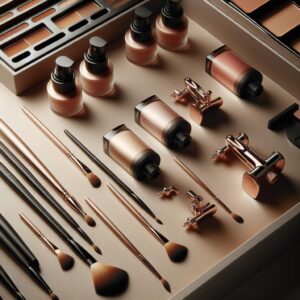
A useful beginner brush kit does not need twenty nearly identical tools. Most everyday makeup routines can be completed with a small group of brushes chosen by shape, size and the type of finish you want.
The goal is not to collect every brush available. It is to understand what each tool does, avoid unnecessary duplicates and choose shapes that feel comfortable on your face.
The five brushes that cover most beginner routines
The exact names used by beauty brands vary, so focus on the shape and function rather than the name printed on the package.
Dense foundation or buffing brush
A rounded or flat-topped brush with medium-to-high density can spread liquid foundation, skin tint or cream products in thin layers.
Beginner technique: place a small amount of product around the center of the face, then blend outward with short tapping or gentle circular movements.
Liquid and cream complexion productsLarge or medium powder brush
A soft, flexible brush distributes loose or pressed powder without concentrating too much product in one spot.
Beginner technique: pick up a small amount, tap away the excess and press lightly over areas that crease or become shiny.
Setting powder and finishing powderMedium tapered cheek brush
A slightly tapered or softly angled brush offers more placement control than a very large face brush. It can often handle blush, bronzer and soft powder contour.
Beginner technique: begin with the remaining product on the outer cheek, then blend inward rather than placing the strongest color near the center of the face.
Powder blush, bronzer and contourFluffy eyeshadow blending brush
A small or medium dome-shaped brush softens eyeshadow edges and distributes transition shades through the crease.
Beginner technique: hold the handle farther from the bristles and use light back-and-forth movements. Heavy pressure can create uneven patches.
Powder or compatible cream eyeshadowSmall flat or angled detail brush
A compact brush can fill brows, soften eyeliner, apply shadow near the lashes or place concealer on a small blemish.
Beginner technique: keep different uses hygienic. A brush used around the eyes should be cleaned before being used on a blemish or with another formula.
Brows, liner, concealer and detail workOptional makeup sponge
A sponge is not a brush, but it can complement a small kit by pressing foundation or concealer into the skin and softening visible brush marks.
Beginner technique: use it according to the manufacturer’s instructions and press rather than drag so the base underneath is not lifted.
Liquid foundation and concealerUseful additions after you understand your routine
- Small concealer brush: useful when you regularly cover precise areas.
- Flat eyeshadow shader: helpful for pressing color or shimmer onto the eyelid.
- Small setting brush: offers more control under the eyes and around the nose.
- Spoolie: useful for grooming brows and separating visible product.
- Lip brush: can improve precision with bold or dark lip colors.
Match the brush shape to the result you want
On a phone, slide the table sideways to see all columns.
| Brush shape | Typical level of control | Common use | Result it can create | Beginner caution |
|---|---|---|---|---|
| Flat paddle | Precise placement | Foundation, concealer or cream product | Thin, painted layers | May leave lines if the edges are not blended |
| Rounded buffing | Medium control | Foundation, skin tint or cream blush | Even, blended coverage | Heavy circular pressure can disturb skincare or dry areas |
| Large fluffy | Broad and diffused | Powder and soft bronzer | Light, dispersed application | May be too large for precise placement on a small face |
| Tapered | Controlled diffusion | Blush, powder, highlighter or crease color | Soft edges with a more precise center | Choose a size that suits the area being covered |
| Angled | Directional | Brows, liner, blush or bronzer | Defined placement along an edge or facial angle | A very stiff brush may create a harsh line |
| Duo-fiber | Light and buildable | Liquid, cream or pigmented powder products | Sheer layers and softened edges | May not provide enough coverage for every base routine |
Density changes how much product reaches the skin
Two brushes with a similar shape can behave differently when one is tightly packed and the other is flexible. Density affects pickup, coverage and blending speed.
Flexible bristles usually apply lighter layers. They can be useful for finishing powder, soft bronzer and gradual blush application.
A balanced choice for beginners because it can blend without immediately depositing a heavy amount of product.
Tightly packed bristles can build more coverage with liquid or cream products, but they may also apply too much when used with heavy pressure.
Density does not determine quality by itself. A very dense brush is not automatically better, and a fluffy brush is not automatically too weak. The useful question is whether its density fits the product and finish you normally use.
Synthetic or natural bristles?
Beginners often hear that one fiber type must be used with liquids and the other must be used with powders. In practice, brush shape, softness, density and product formula are also important. Modern synthetic brushes can work with liquids, creams and powders.
Synthetic bristles
- Widely available in beginner sets.
- Can be used with liquid, cream and powder formulas.
- Often preferred by people seeking vegan or animal-free tools.
- May absorb less liquid product than some porous fibers.
- Quality still varies between brands and price levels.
Natural animal-hair bristles
- Traditionally used for certain powder applications.
- Texture and performance vary according to the hair and construction.
- May require more specific care instructions.
- May not suit vegan or cruelty-free purchasing preferences.
- Are not necessary for building an effective beginner kit.
How to judge brush quality before buying
A high price, heavy handle or decorative package does not guarantee good performance. These simple checks are more useful than marketing language.
- The bristles feel comfortable Lightly move the clean tester brush against the back of your hand when store hygiene allows it. The tips should not feel sharp or scratchy.
- The brush returns to its shape Gently press the bristles sideways. They should recover instead of remaining widely separated or permanently bent.
- The ferrule feels secure The metal section connecting the bristles and handle should not wobble, rotate or show an obvious gap.
- The handle is comfortable Very long or heavy handles can be awkward near a small mirror. Choose a size you can control without gripping tightly.
- The head fits your features A popular oversized brush may be inconvenient on smaller eyelids or when you prefer precise cheek placement.
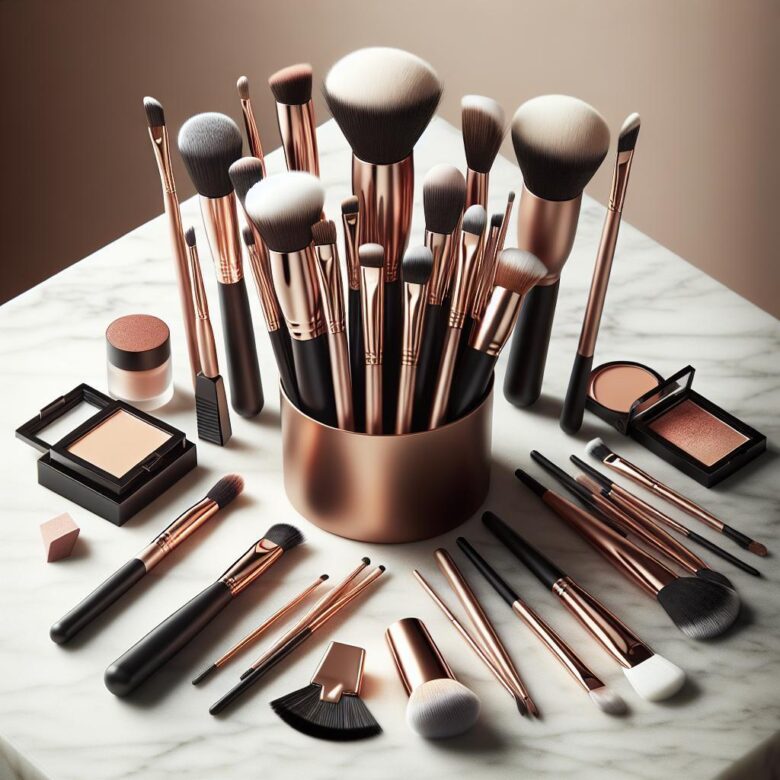
- The set contains useful variety Five distinct shapes usually offer more value than fifteen brushes that differ only slightly.
- Replacement is realistic Check whether the brush can be bought separately later. This is useful when one heavily used tool wears out before the rest of a set.
Build a kit around the makeup you actually wear
Skin tint, powder and blush
- Foundation or buffing brush
- Medium powder brush
- Tapered cheek brush
Base, cheeks, brows and eyes
- Foundation brush
- Powder brush
- Cheek brush
- Eyeshadow blending brush
- Small angled or detail brush
Layered complexion and eye looks
- Core five-brush kit
- Small concealer brush
- Flat eyeshadow brush
- Small setting brush
- Spoolie or lip brush as needed
Buying according to your real routine prevents a common mistake: purchasing specialized contour, fan, liner and eye-detail brushes before knowing whether you will use those techniques regularly.
Technique matters as much as the brush
Use a denser brush with gentle pressing or tapping motions. Build another thin layer only where it is needed.
Use a flexible brush, remove excess product before application and gradually diffuse the edges.
Use less product, work in smaller sections and finish by lightly tapping over visible lines.
Use one brush to place color and a cleaner blending brush to soften the border instead of spreading the same dark pigment everywhere.
Begin with less product than you think you need. It is easier to build color than to remove a heavy patch.
Avoid aggressive buffing. Press or lightly sweep the product so the tool does not repeatedly rub the same area.
How to wash and dry makeup brushes
The American Academy of Dermatology recommends washing makeup brushes approximately every 7 to 10 days. A brush used with wet products, shared between people or used around an active eye problem may require different hygiene precautions.
A simple cleaning routine
- Rinse only the bristle tips under lukewarm running water.
- Avoid placing the entire brush head and handle under water.
- Add a small amount of gentle cleanser or a product made for makeup brushes.
- Massage the bristles carefully without pulling or twisting them.
- Rinse until the visible makeup and cleanser are removed.
- Gently squeeze out excess water with a clean towel.
- Reshape the brush head with your fingers.
- Lay the brush flat to dry with the bristles positioned where air can circulate.
- Use it again only after the bristles and inner brush head are fully dry.
Avoid soaking the ferrule. Water repeatedly entering the connection between the bristles and handle can weaken the construction over time.
Do not share makeup brushes or applicators without appropriate cleaning and sanitation. Tools can carry makeup residue, oil, skin cells and microorganisms from one person to another.
Signs that a brush may need replacement
There is no reliable universal rule stating that every brush must be discarded after a specific number of months or washes. Replace it based on condition, hygiene and performance.
A rotating or separating brush head can become difficult to control and may continue deteriorating.
Occasional loose fibers can occur, but repeated shedding that leaves bristles on the face suggests poor condition.
Bent, widely splayed or uneven bristles can change placement and make blending less predictable.
Scratchy or rough tips should not be tolerated simply because the brush was expensive.
A persistent unusual smell may indicate that the brush is not drying properly or cannot be cleaned adequately.
If dried product remains deep inside the head and affects performance, replacing the brush may be more practical.
Beginner purchases that are often unnecessary
- A very large set purchased only because the price per brush looks low.
- Several nearly identical blending brushes before learning basic eye makeup.
- A fan brush when a small tapered brush can already apply highlighter.
- Separate blush, bronzer and contour brushes when one cheek brush can cover the current routine.
- An expensive professional set chosen before checking handle size and brush-head proportions.
- Tools bought for techniques seen online but rarely used in everyday life.
Frequently asked questions
How many makeup brushes does a beginner really need?
Many beginners can cover a normal routine with three to five brushes. Someone who wears only complexion products may need fewer, while a person who regularly creates detailed eye looks may benefit from additional small brushes.
Should I buy a set or individual brushes?
A small set is useful when most of its shapes match your routine. Individual brushes are often better when a set contains many duplicates or when you already own some of the essential tools.
Do expensive brushes always last longer?
No. Construction, care, frequency of use and cleaning habits affect durability. A moderately priced brush with secure construction and suitable bristles may serve a beginner better than a luxury brush chosen only for branding.
Can the same brush be used for cream and powder products?
Some synthetic brushes can work with both, but avoid moving directly from a wet cream into a powder pan because this can create residue in the powder. Clean or switch brushes when the formulas could contaminate each other.
Is a flat foundation brush or a buffing brush easier?
A rounded buffing brush may feel easier for quickly blending an everyday base. A flat paddle brush provides precise placement but may require an extra tapping or blending step to remove visible lines.
Do I need a separate brush for blush and bronzer?
Not necessarily. A medium tapered cheek brush can often apply both. Wipe or clean it between very different colors, and add a second brush only when using both products in the same routine becomes inconvenient.
Can dirty brushes cause skin problems?
Brushes can collect makeup residue, oil, skin cells and microorganisms. Regular cleaning and avoiding shared tools are sensible hygiene practices. Persistent irritation, acne or eye symptoms should be evaluated by an appropriate healthcare professional.
A sensible first brush kit
Start with one useful brush for each major part of your routine rather than buying several versions of the same tool. A foundation brush, powder brush, cheek brush, eyeshadow blending brush and small detail brush provide enough flexibility for many beginner looks.
After using that kit for several weeks, notice which step feels difficult. That difficulty will tell you what to add next. Someone who struggles to set under the eyes may need a small powder brush, while someone who enjoys colorful eye makeup may benefit more from a flat shader.
The best beginner brushes are not defined by a particular brand, price or professional label. They are the brushes that fit your features, work with your normal products, feel comfortable and can be cleaned without becoming a burden.
Editorial transparency: This guide was prepared by the Glow Theory Editorial Team for general educational purposes. The recommendations are based on brush function, shape, density and everyday usability rather than undisclosed client work or unverified product testing. Brush names and intended uses may differ between manufacturers.

The Glow Theory Editorial Team creates practical, carefully researched content about makeup techniques, beauty tools, skincare-friendly products and routines for everyday life and special occasions. Each guide is reviewed for clarity, accuracy and usefulness, helping readers make informed beauty choices without unrealistic promises.